Christmas time at both home, and in school is a creative time of year. With the lights, colourful wrapping paper, and decorations wherever you look, there is an inspiration for crafting.
However, teachers can often find themselves stuck for new and creative ideas with them setting the same art tasks every year. We’ve put together a list of festive ideas which are perfect for creating in the classroom. For both younger children in primary schools and older children in the first few years of secondary school.
Decorate your own Christmas Baubles
.png?width=900&height=500&name=Paper%20plus%20blog%20image%20%20(11).png)
Difficulty: easy
What you’ll need:
How to create:
- Create a Christmas mix of shapes, pom poms, and glitter to fill your baubles (These can be different for everyone, so simply lay out all the possibilities in bowls with spoons, and your students can create their own ‘mix’ in their own individual bowls)
- Lay both of your bauble halves down on a piece of newspaper
- Paint your desired design onto your baubles halves, ensuring not to cover the whole of the baubles
- Leave to dry
- Cut your desired length of ribbon and thread through the top of the bauble
- Fill one half of your bauble will your ‘Christmas mix’
- Secure the other half of your bauble
- Hang on your Christmas tree
Christmas Cards
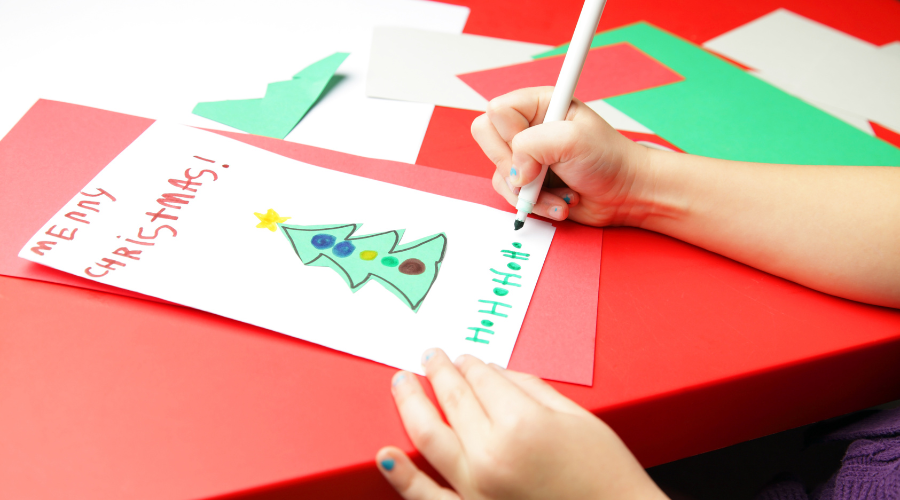
Difficulty: Easy
What you’ll need:
How to create:
- Take a piece of A4 white card and fold it in half. This is the base of your card
- Now you can get creative with the design of your card, as there are so many different designs you could create
- Once you’ve finished your design, write your message inside
Gingerbread Houses
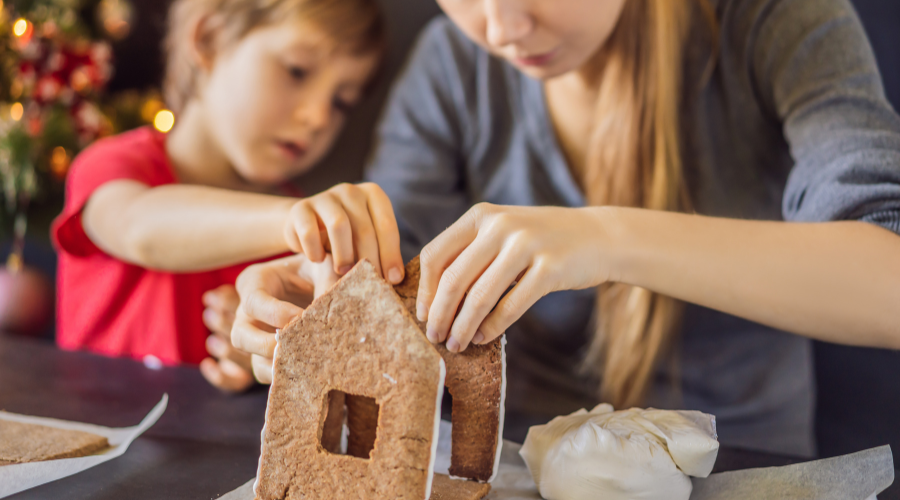
Difficulty: A bit of effort
What you’ll need:
- Baked gingerbread pieces
- Newspaper/ cups
- Tubes of royal icing (one for each student)
- Smarties
- Jelly beans
- Edible glitter
- A cake board
How to create:
- Set out all of your gingerbread pieces on a clean surface and establish how they will fit together
- Construct the four walls of your gingerbread house with royal icing. Once built prop them up with newspaper or cups whilst the icing dries
- Once dry, now you can begin to decorate your gingerbread house. Use royal icing to decorate your house with smarties, jelly beans, and other sweets
- Spray with edible glitter for the finishing magical touch!
Natural Christmas Wreaths
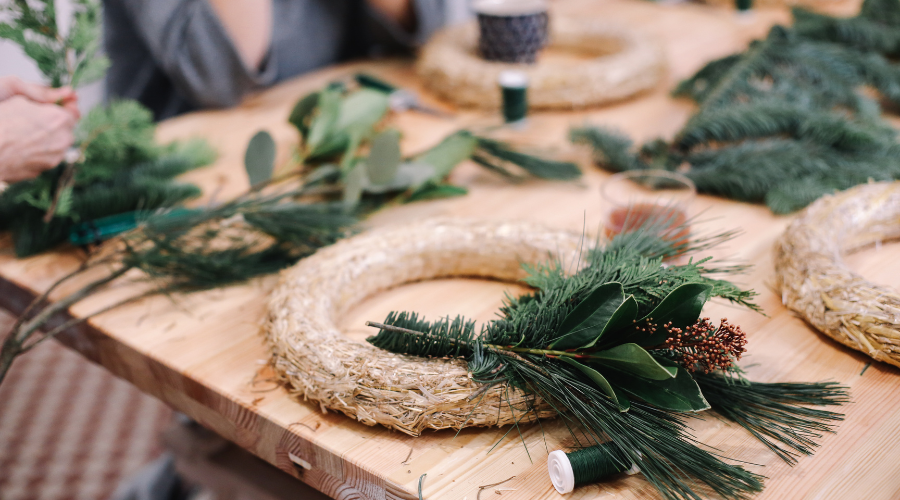
Difficulty: A lot of effort
What you’ll need:
- Your wreath base (wire, mesh, or natural materials)
- Baubles
- Natural items: twigs, holly, acorns, pine
- Glue
- Twine or string
- Ribbon
- Scissors
How to create:
- Lay your wreath base down and begin to place all of your natural items, and baubles in your desired design (planning your wreath design beforehand without attaching the items will ensure you have a balanced design)
- Once you’re happy with your design, begin attaching the items with twine and securing them with a little glue
- Once dry, thread through a large loop of ribbon and tie
Sewn Christmas Decorations
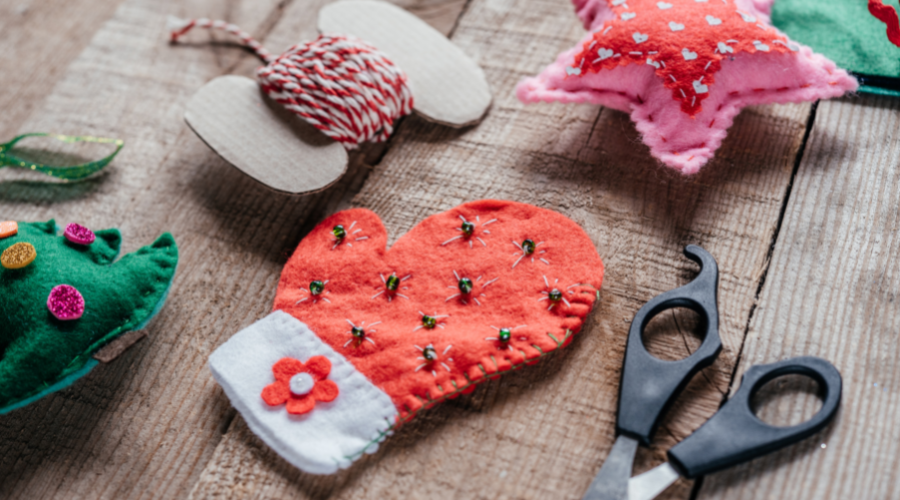
Difficulty: A lot of effort
What you’ll need:
- Coloured felt
- Beads
- Needles
- Thread
- Scissors
- Card templates
- Fabric filling
How to create:
- Create your own card templates of common Christmas shapes e.g. stars, Christmas trees, Santa’s hat, or penguins
- Take a template and trace the shape onto a piece of felt
- Cut out the shape and repeat, so that you have two of the same felt shapes
- Create a hole in both felt shapes (in the same place, to thread through the ribbon later on)
- Cut out your desired decorations for the shape
- Sew your felt shapes and beads onto the main felt shape
- Once happy with your finished design (remember to decorate both sides), sew your two felt pieces together, ensuring to leave one side open
- Stuff your felt shape with stuffing and sew the remaining edge
- Thread through your ribbon and tie
Toilet roll Christmas Snowflakes
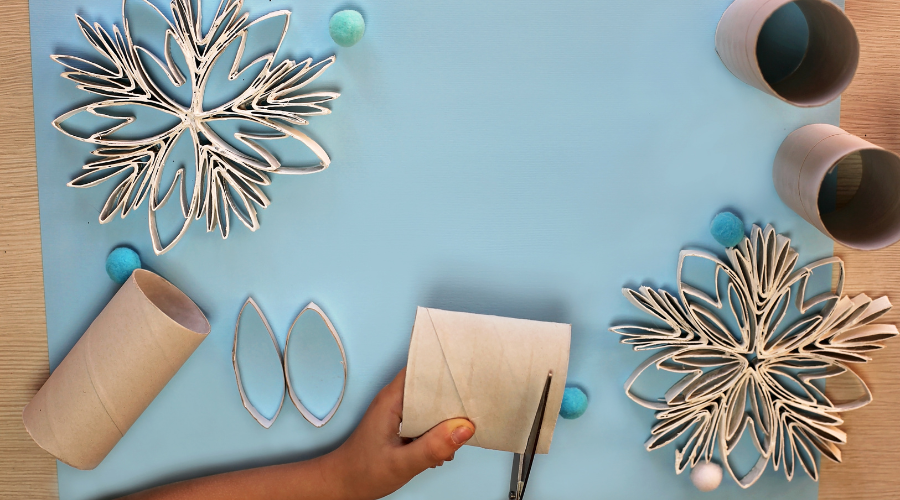
Difficulty: A little effort
What you’ll need:
How to create:
- Cut your toilet roll tubes into 2cm strips
- Take each strip and bend it in half (to create a V shape)
- Glue 6 of these strips together, securing one long edge, to the next, to create a star shape
- Repeat the process of folding the strips and gluing them to the shape, building up your star shape
- Once you are happy with the final design, apply glue to the edges of all of the strips
- Sprinkle glitter over and allow to dry. Repeat this on both sides
- Once dry, thread through a piece of ribbon and tie
Contact Us
For your classroom stationery, paper, and furniture needs, get in touch with us at Paper Plus. Call us at 01444 238 050 or email us at sales@paperplusuk.com
.png?width=720&name=Paper%20plus%20blog%20image%20%20(2).png)
